Introducing Duray Intraoral sensors – a durable, reliable, and affordable digital intraoral imaging solution. With just a 4.4mm profile and a theoretical resolution of 25 lp/mm, image quality is exceptional while ensuring easy positioning and maximum comfort for the patient. Installation is simple and straightforward with a plug-and-play design, and image processing specifications can be customized to meet your practice needs for enhanced diagnosis. Integrate Duray intraoral sensors seamlessly into your practice today and experience sharper, more detailed images with simplicity.
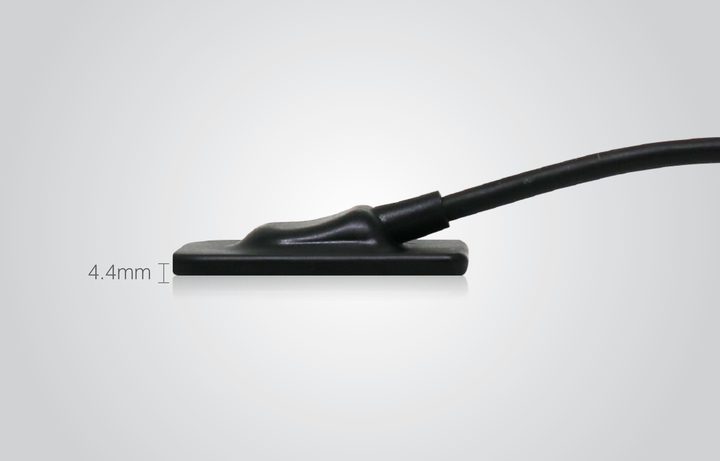
With an ultra-thin 4.4mm portfolio and ergonomically designed with rounded corners makes it easier than ever to position for bitewing images and offers maximum level of patient comfort.
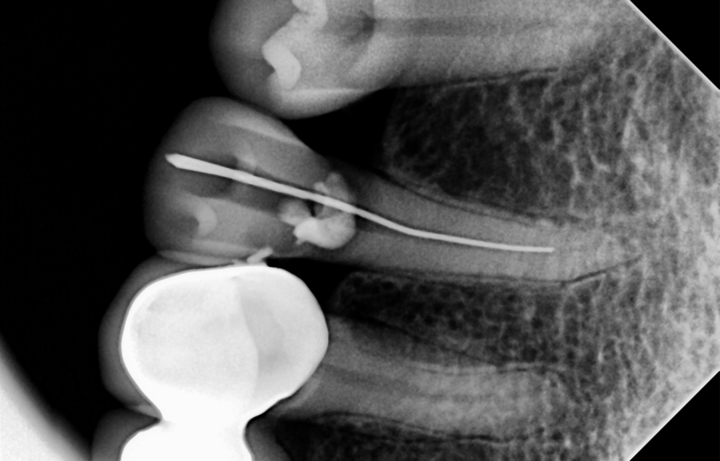
With a theoretical resolution of 25 lp/mm and through advanced CMOS technology, image quality is optimized and exceptional, and noise is reduced, producing crisp, detailed images for immediate review and diagnosis.
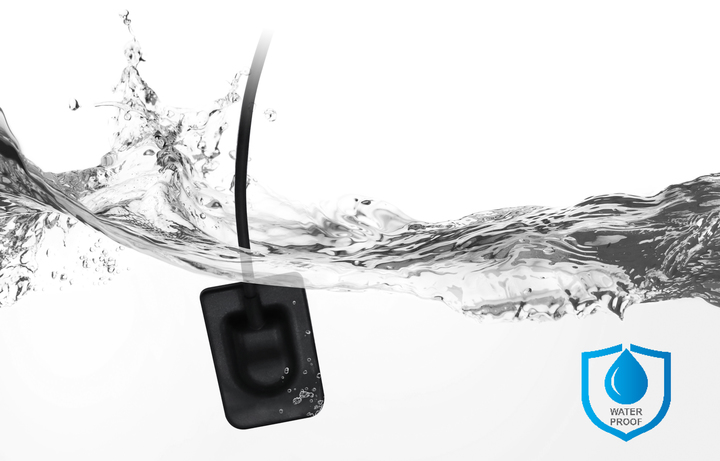
Made with premium materials and rigorously tested during production processes to ensure high-quality performance standards. Duray Sensor is waterproof with an IP68 rating and can be immersed in disinfectant liquids to prevent cross infections and enhance hygiene and safety. In addition, our sensor housing is designed to be shock-resistant to protect from shock, bites, and falls to ensure durability and long product life cycle.
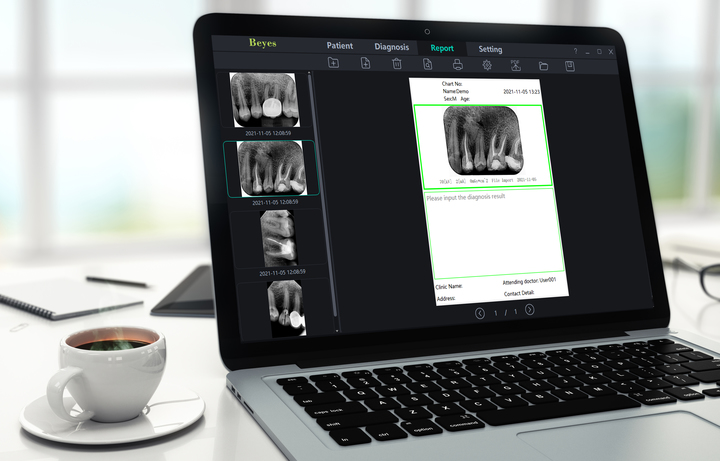
Duray Sensor provides simple and easy-to-operate software with one-click smart installation and offers plug-and-play simplicity with high-speed USB 2.0 connection. Equipped with powerful image processing functions, so you can significantly and quickly improve the quality of radiographs.
| DURAY DS1 | DURAY DS2 | |
|---|---|---|
| Outer dimensions of the sensor (length x width x thickness) | 38.5 x 25 x 4.5mm | 40 x 31 x 4.5mm |
| Sensitive surface | 30 x 20 mm (600 mm2) | 36 x 26 mm (936 mm2) |
| Surface in pixels | 1500 x1000 pixels | 1800 x 1300 pixels |
| Weight | 118g | 158g |
| Sensor technology | CMOS | CMOS |
| Sensor resolution | > 20 pl/mm | > 20 pl/mm |
| Sensor cable length | > 3 m | > 3 m |
| Grey levels | > 16 bits (16384 grey levels) | 16 bits (16384 grey levels) |
| Connetion (Standard USB) | USB 2.0 High-Speed (480Mbit/s) and USB 3.0. | |
| Physical pixel size | 20µm | 20µm |
| Measured resolution | 16 lp/mm | 16 lp/mm |
| Theoretical resolution | 25 lp/mm | 25 lp/mm |
| Warranty | 24 months | 24 months |
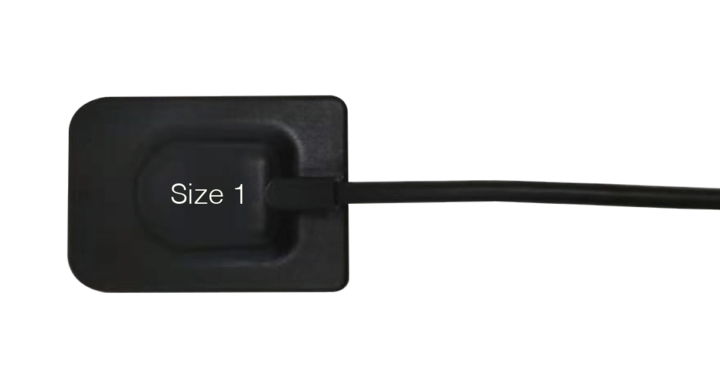
Code: DS1001
Model: DS1, Duray Sensor Size 1 Kit
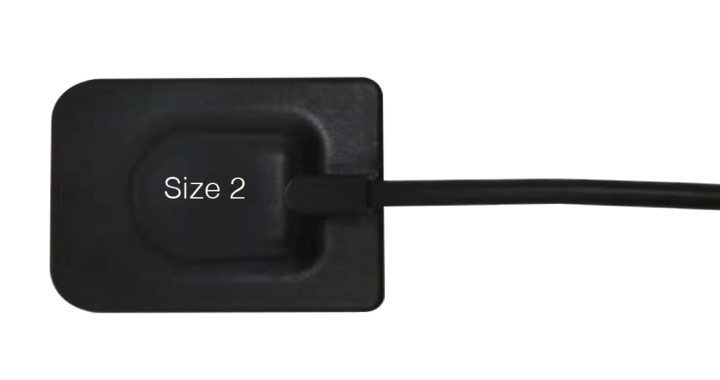
Code: DS2001
Model: DS2, Duray Sensor Size 2 Kit
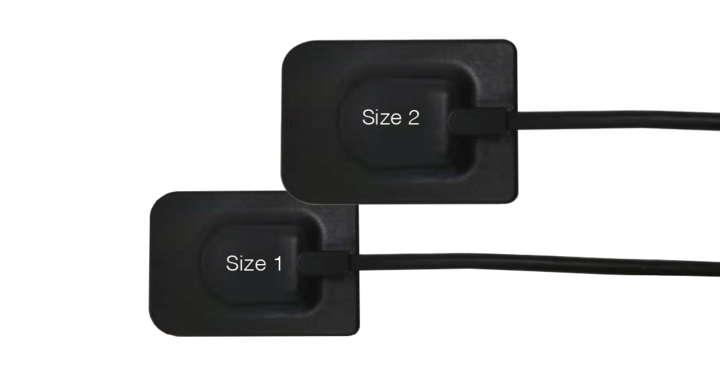
Code: DS3001
Model: Duray Sensor Package (Includes size 1 & size 2 kits)
Code: DS1003
Model: Sensor Sleeve, Size 1 (100/package), 4X22cm
Code: DS1004
Model: Sensor Sleeve, Size 2 (100/package), 5X22cm
Code: DS1006
Model: Sensor Silicone Sleeve, Size 1
Code: DS1007
Model: Sensor Silicone Sleeve, Size 2
Code: DS1103
Model: Universal Starter Kit
Also Available Separately: 1 x Positioning Arm Posterior, 1 x Positioning Arm Bite Wing, 1 x Positioning Arm Anterior, 12 / pk x Bite Block Large Size, 12 / pk x Bite Block Medium Size, 1 x Posterior Aiming Ring, 1 x Anterior/Bite Wing Aiming Ring


1. Click the Patient File to expand the icons.
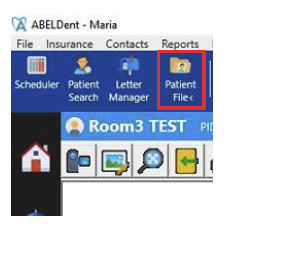
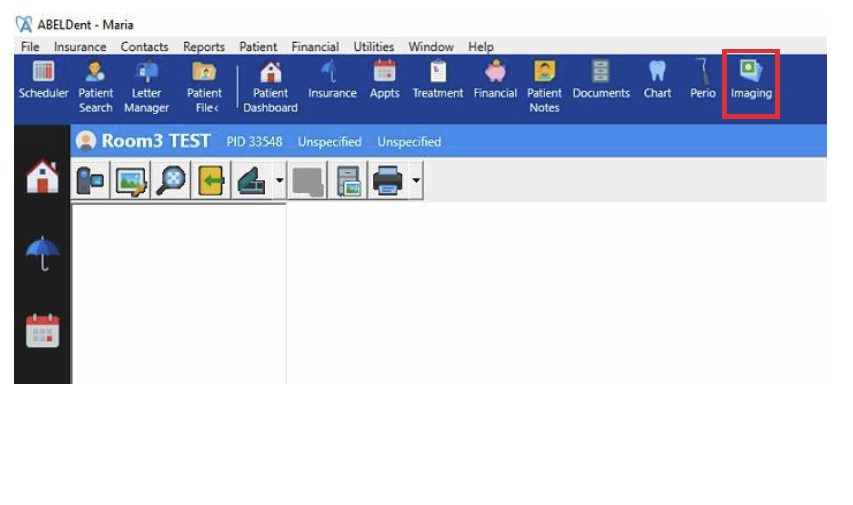
2. Click on Imaging.
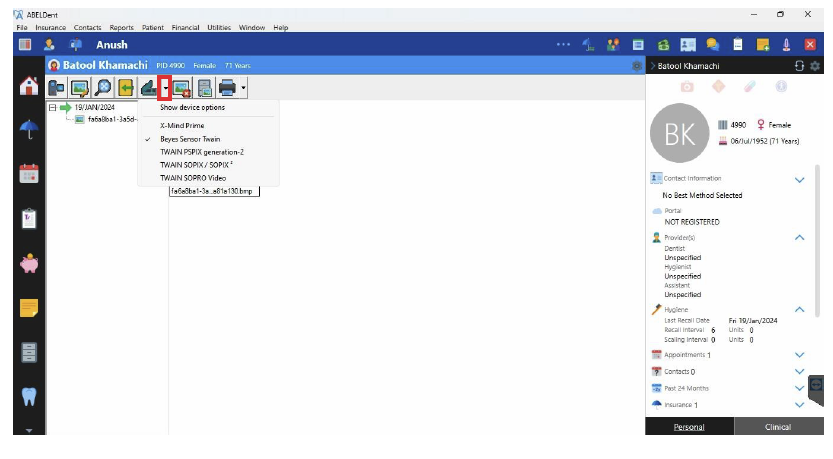
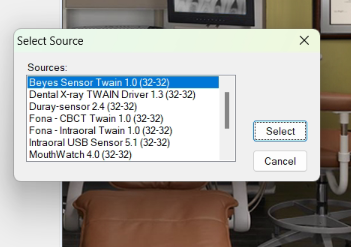
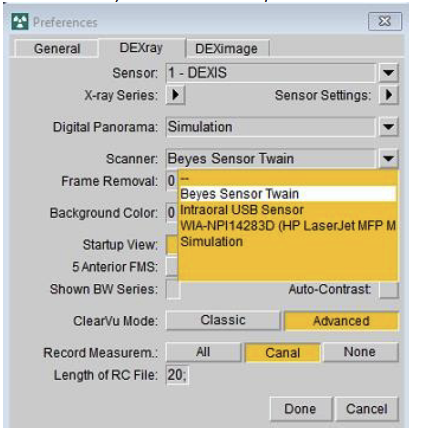
3. Click the drop down arrow besides the Scanner button and then choose Beyes Sensor Twain.
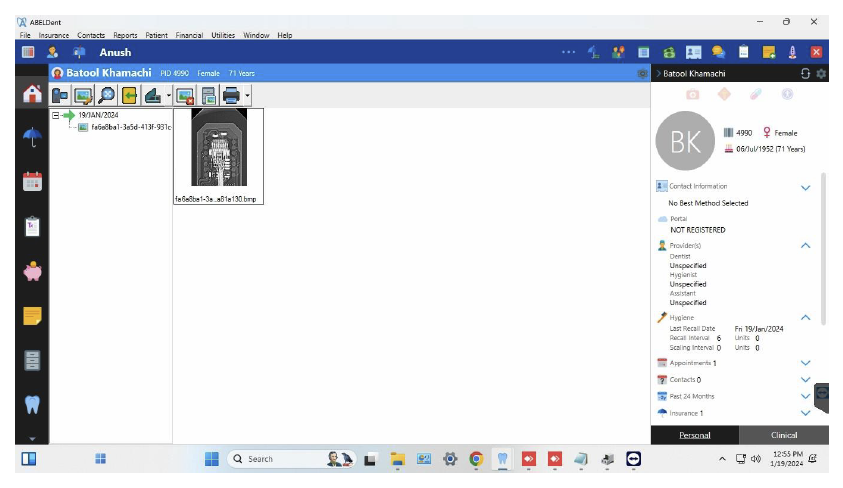
4. Take an x-ray shot/image using the Scanner icon.
Top tab, click on "window" > clinical mode or the monitor with a dental chair
File > Preferences
Click on X-ray
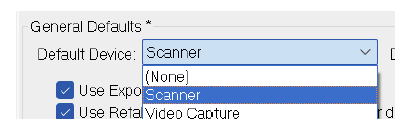
General Defaults*
Default Device > Scanner
Check "Use scanner default interface" and "Use Auto Acquire"

Under Device Properties* > Scanner
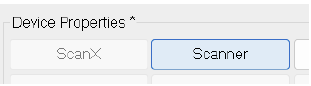
Select "Beyes Sensor Twain"
Hit "OK" to save SETTING
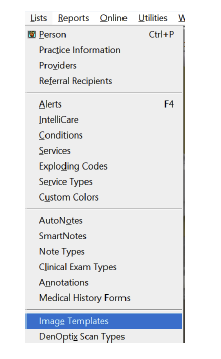
List > Image Templates
****Ask for most commonly used Templates****
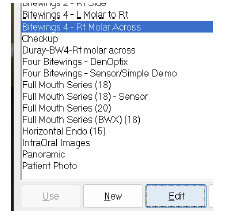
Select the templates > Edit
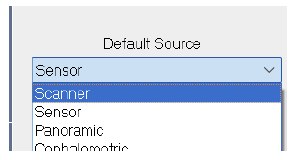
Set Default Source > Scanner
Uncheck the Flip This Image and Mirror This Image on each panel
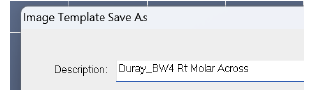
Click Save As "Duray_*template_name*"
****may have to repeat these steps if they use multiple templates***
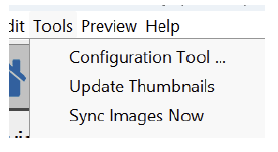
Tools > configuration tool…
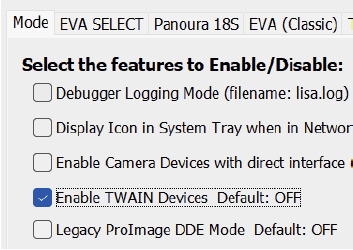
Under mode> check Enable TWAIN DEVICES
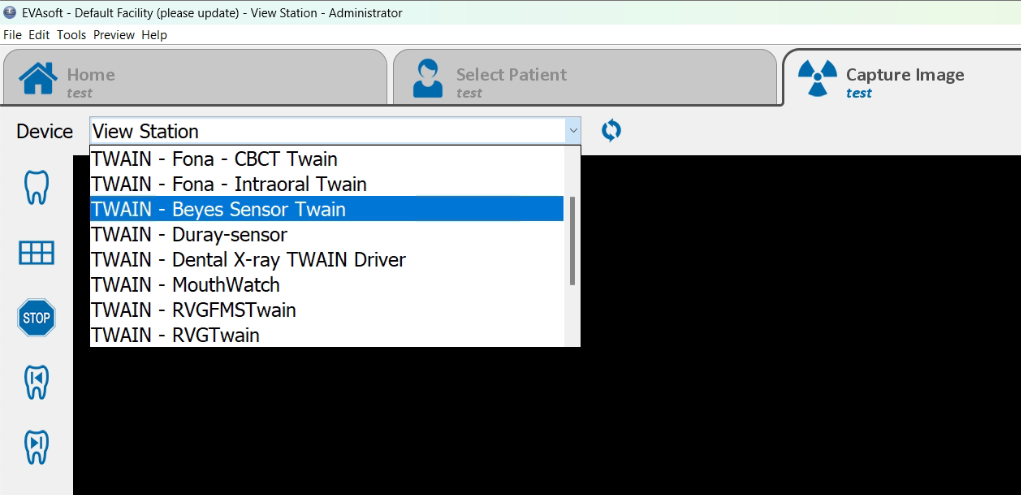
Under capture image> Device> Beyes Sensor Twain
Then on your Desktop right-click EVAsoft icon
Open file location > look for the folder ‘EnableTwain’>
Run the EnableTwain.exe
Restart EVAsoft
Under capture image> Device> TWAIN - Beyes Sensor Twain
NOTE: Install this only if you cannot find TWAIN Sensor under DEXray > sensor ******Make sure the software is Dexis 9 to check this click on the Dexis icon if it read Dexis 9.x.x mean its Dexis 9

1. Go to IT doc\Tools\DEXIS 9 Twain driver set up
2. Run the exe follow prompt for installation
3. Now run Dexis 9 click on the wrench

4. Go to DEXray > sensor > TWAIN Sensor
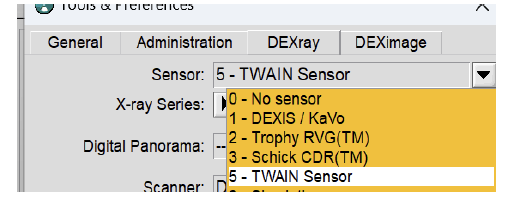
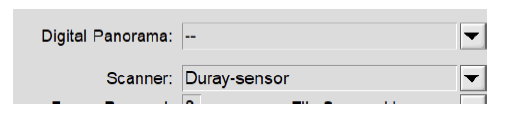
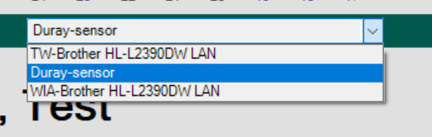
5. Scanner > Duray-sensor.
Optional (If above instruction wont work, use Scanner Icon):
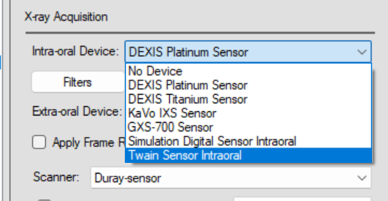
X ray acquisition sources
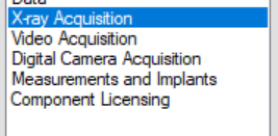
Look for the wrench icon on DEXIS menus
Look for x-ray acquisition; Intra-oral Devices> Twain Sensor intraoral
Now select a test patient to go into imaging phase; Press the radio active icon to take x-ray
First tab selects Twain Sensor Intraoral
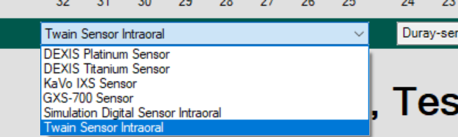
Second tab select Duray sensor
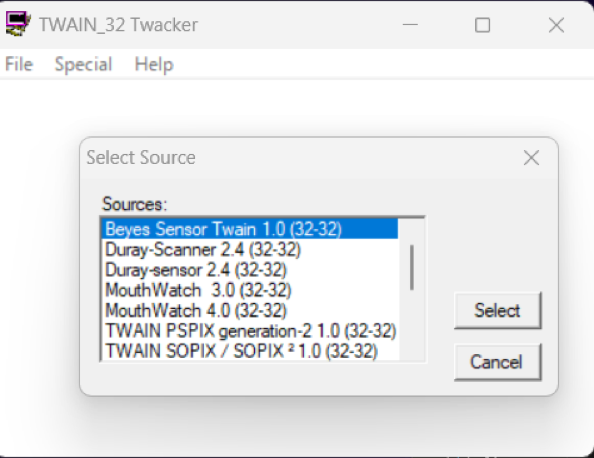
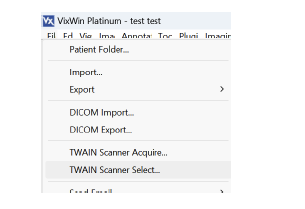
File > Twain Sensor Select…
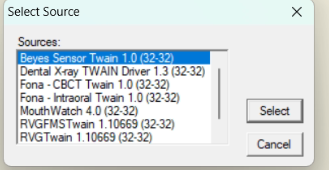
Select Beyes Sensor Twain
File > Twain Scanner Acquire… to test
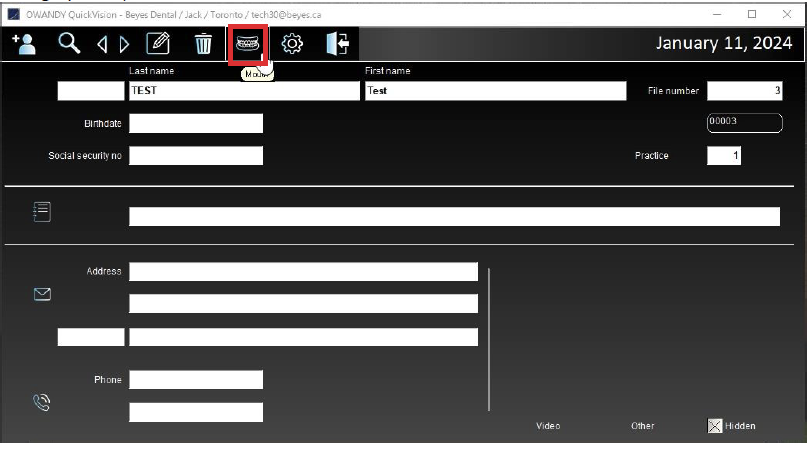
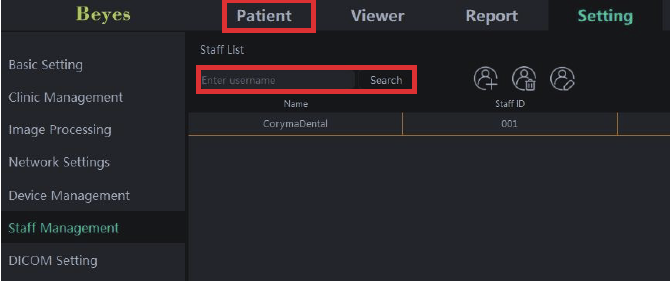
Go to Patient, you can either click Search button or create a new one
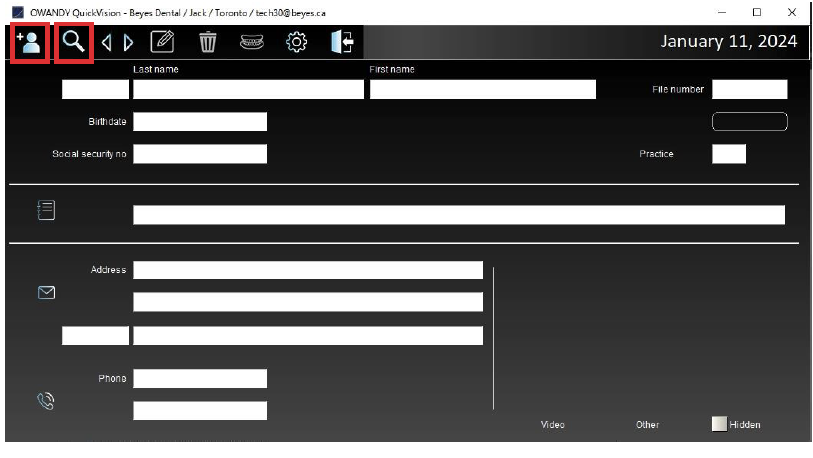
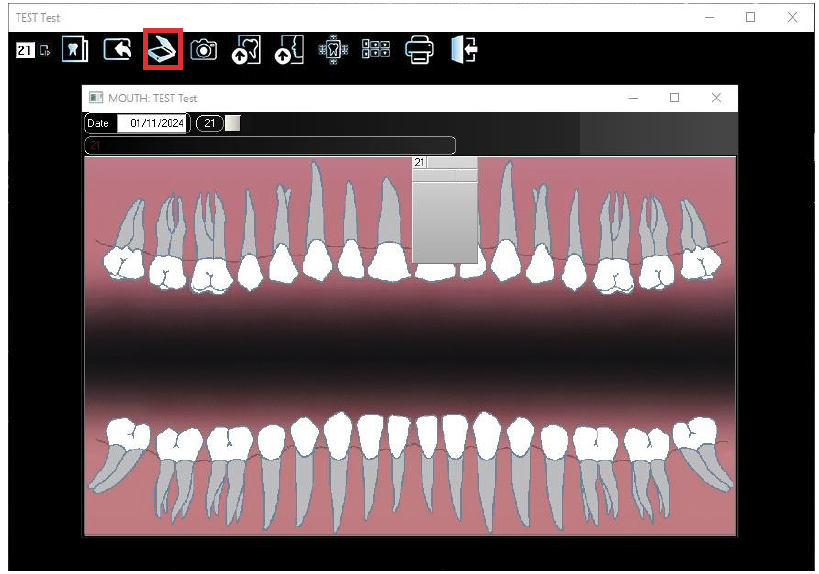
After selecting a patient, click Mouth icon
RIGHT-CLICK on the Scan Icon
Select Sensor Twain for the TWAIN source
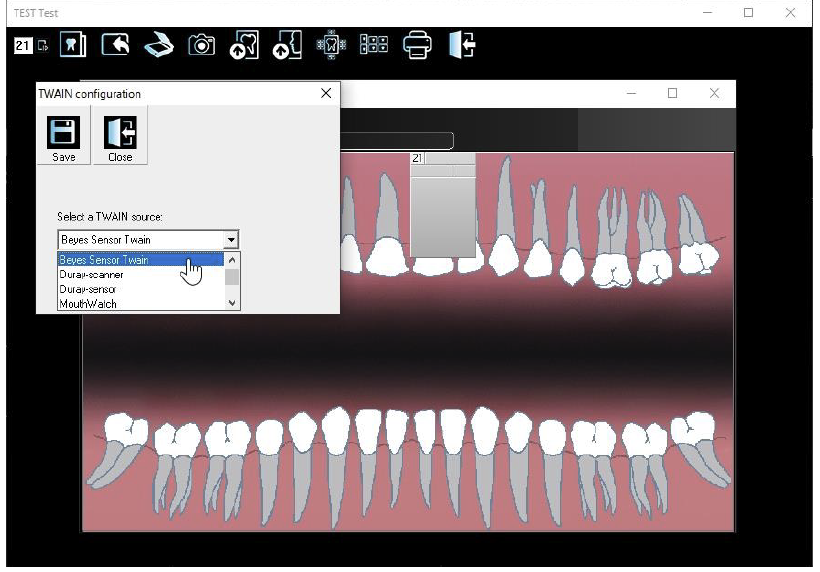
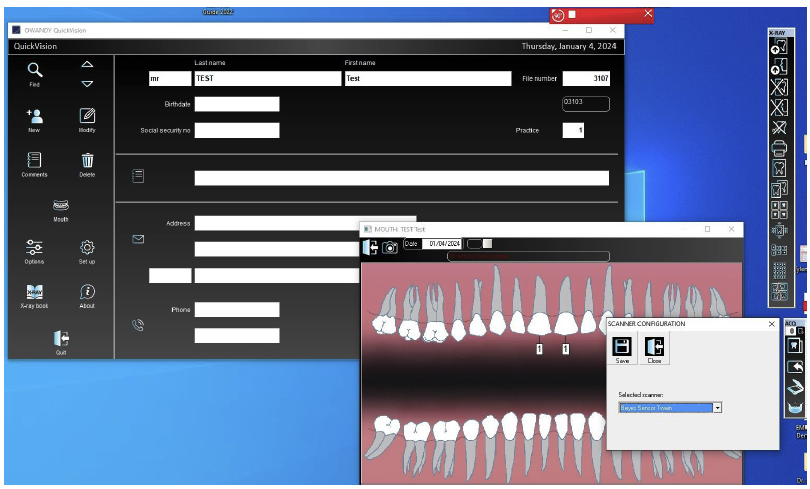
Click on Save and then Close button.
Install the Duray Sensor driver, Duray_Sensor_V1.0.6_20230818.exe
Install the Duray Server-Client, Duray-Beyes Dental-V1.0.1.0-(SERVER-CLIENT setup).exe
NOTE: For the Server PC, Server and Client should be check during the installation process
Open Duray-Client found in the Desktop
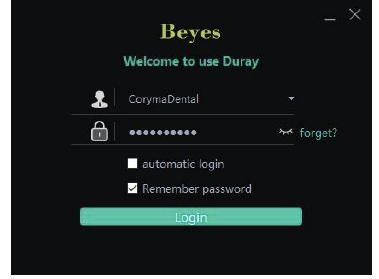
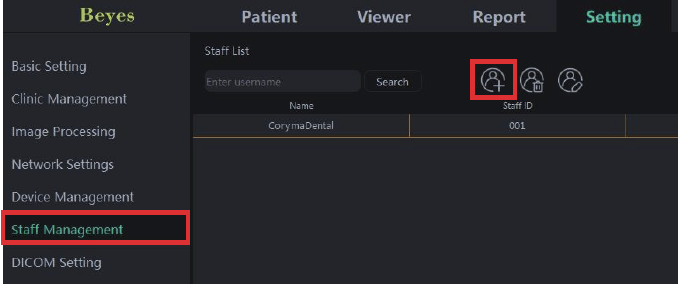
NOTE: To create new user, Click on Register found at the bottom.
Or you could go to
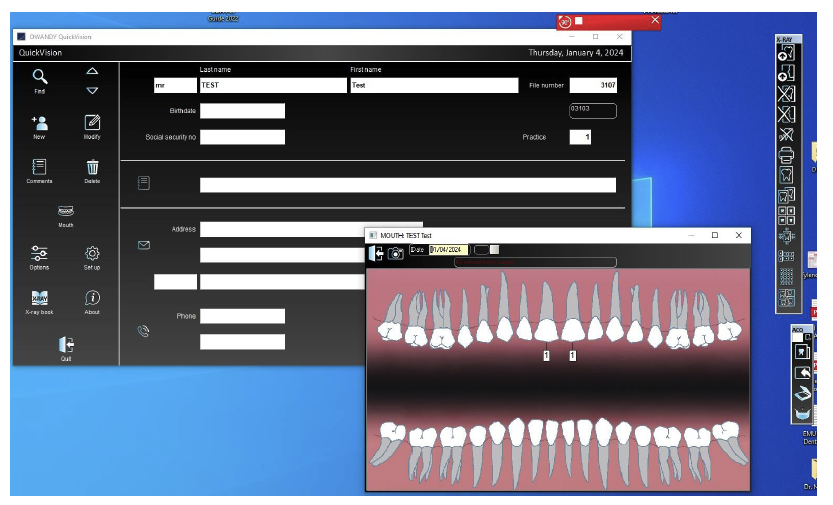
To test on a patient, go to Patient, either you could do a search or you could create a new one.
To take an image, go to Acquisition, click on the Duray Sensor and then click on Open
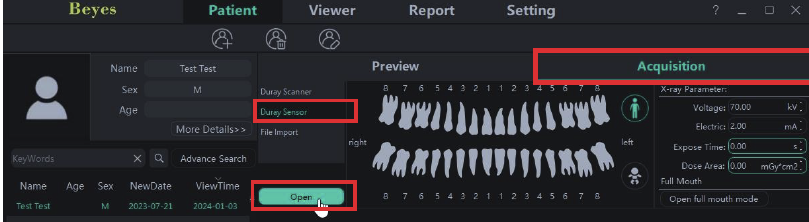
From here, either you can fire up an x-ray or you could use a custom mouth mode